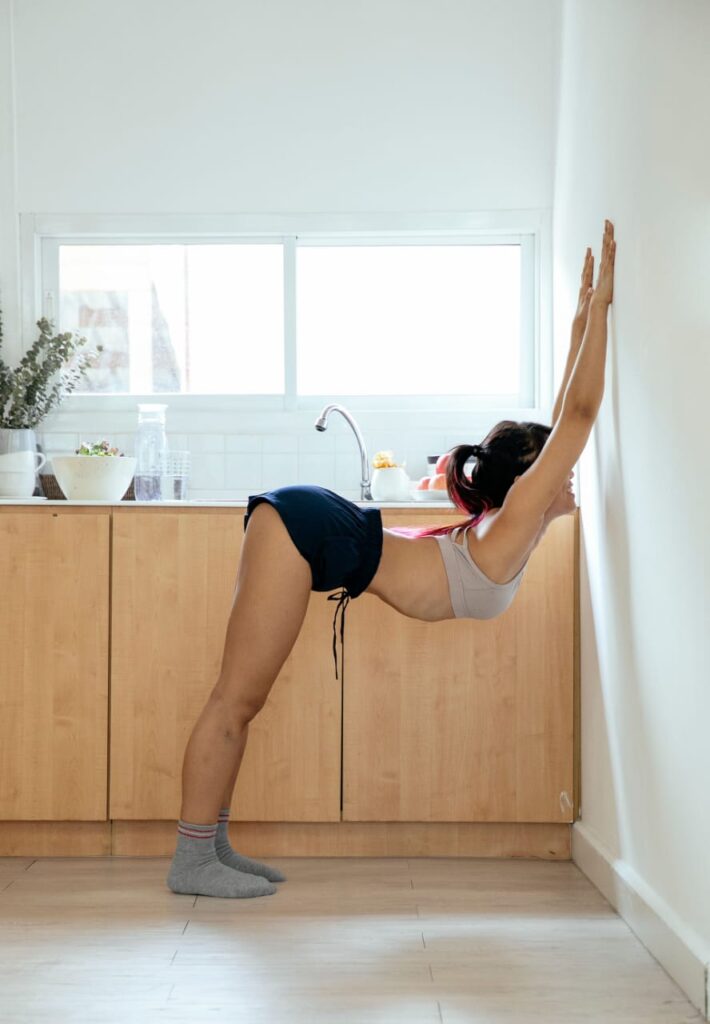
A wall push-up progression begins with a repeatable setup and a next step you can control. If the wall version feels easy but a floor push-up remains too demanding, a suitable fixed incline may provide a useful intermediate option. Make small changes that you can record.
The useful question is not “How soon should I reach the floor?” It is “Can I control the next version well enough to train it?” A sensible wall push up progression starts with a stable surface and a clear definition of a finished repetition. The height ladder below is an editorial planning example, rather than a validated test or a promise of progress on a particular date.
First, make your current repetitions comparable
Before moving on, do a small practice set at the wall. NHS wall press-up instructions describe chest-height hands, a straight back, elbows kept near the body and a slow return. Keep those features recognizable through the whole set. A repetition starts with straight arms, includes a controlled approach to the wall and ends back at the start.
Pick a comfortable depth you can repeat. You do not need to touch your nose to the wall, especially if that changes your neck position. Avoid counting a much shorter final repetition as equal to the first. Keep breathing rather than holding your breath to force one more attempt.
For this decision tool, use two sets of 6–10 repetitions, with about 90 seconds between sets. That is an illustrative starting dose. Stop earlier if control deteriorates, and wait longer if you are not ready to repeat the movement. At the end, ask whether you could have managed another two similarly controlled repetitions. You do not have to prove the answer by doing them.
If ten repetitions are easy but your hips move first or your shoulders shrug on each return, keep the wall version and tidy up the movement. Lowering the hands will make the setup less forgiving of those changes.
Choose the surface before choosing the height
A kitchen counter can look ideal and still be unsuitable. The whole structure must be fixed, designed to withstand the load you place on it and free of movement or damage. A quick push with your hands cannot certify an unknown surface.
Use a dry, nonslip hand contact area with enough room for both palms. Remove dishes and anything that could fall. Stand on a dry floor with shoes that grip. Check that your feet can move back without reaching a rug edge, pet bed or cupboard obstruction.
Leave out loose chairs, folding tables, glass tops, wheeled furniture and improvised stacks. If the only lower surface available is questionable, continue using the wall. A safe height you can repeat is more useful than a dramatic progression you cannot trust.
Choose a wall push-up progression you can repeat
Measure the hand-contact height from the floor and record it. These rungs describe possible categories, not mandatory stages or standard household dimensions.
| Rung | Possible setup | Check before using it | What to record |
|---|---|---|---|
| Wall | Hands at a repeatable chest-level mark | Clear wall, secure footing, no slippery paint or hand contact | Hand height and foot distance |
| High incline | Fixed, structurally suitable counter | Load capacity, dry surface, full palm support | Height and where feet begin |
| Middle incline | Purpose-built exercise platform | Manufacturer permits this use; no rocking or sliding | Platform setting |
| Low incline | Lower rated platform | Same checks plus space for your full body | Height and repetitions |
| Floor | Hands on stable flooring | Comfortable floor access, room and grip | Variation and repetitions |
You may have only a wall and one counter. That is enough to compare two setups. You do not need to buy several surfaces or invent intermediate rungs. At an incline, place your hands securely, step back and organize your shoulders, hips and ankles into one long line. Bend the elbows to bring your chest toward the contact area, then press away without letting your hips trail behind.
Use a two-session rule
Here is one repeatable editorial rule: when you finish both sets of ten at the same setup in two separate sessions, with consistent depth and room for roughly two more controlled repetitions, try the next suitable height. Leave at least a day between these practice sessions to make the comparison less dependent on immediate fatigue.
At the new height, begin with a trial set of three to five. If it is controlled, make the day’s working sets five to eight repetitions. Keep the same rest period. Do not lower the surface, add a set and increase the repetitions together; you would lose the reference point that helped you decide.
ACSM’s current guidance emphasizes individualizing resistance training. The two-session rule is a practical way to organize your own observations, not an ACSM push-up qualification standard.
| Session | Surface / height | Foot position | Set 1 / set 2 | Rest | Effort and control | Next action |
|---|---|---|---|---|---|---|
| Example A | Fixed counter, 95 cm | Same floor mark | 10 / 10 | 90 sec | About 2 reps left; consistent depth | Repeat |
| Example B | Same counter | Same mark | 10 / 10 | 90 sec | Similar | Trial lower rated surface |
| Your session |
The numbers are fictional examples. Your record might show six repetitions at a higher incline for several sessions. That is still useful information.
When the next height is too much
If you cannot complete three controlled repetitions, return to the previous surface for your working sets. The trial has answered the question. It does not have to become a struggle set.
If you can do five but ten is unrealistic, train the smaller number and build gradually within your chosen range. You can also stay at the higher incline and add one repetition per set when it feels manageable. More repetitions and a lower incline measure different changes, so decide which you are practicing.
Do not chase a lower height through wrist discomfort. Check hand placement and reduce the demand; stop a painful movement. Persistent wrist or shoulder pain deserves assessment rather than repeated experiments with a harder version. For a wider technique refresher, see Sportiemade’s no-equipment exercise guide’s push-up section.
Frequently asked questions
When should I move on from wall push-ups?
When the current version is repeatable and comfortably challenging, and you have a suitable next surface. The example rule uses two controlled sets of ten across two sessions. It is a decision aid, so you can stay longer or use a smaller dose if that better suits your starting point.
Which household surfaces are suitable?
Only fixed surfaces whose structure and load suitability you can establish. “Heavy-looking” is insufficient. If you cannot verify a counter or platform, use the wall or purpose-built equipment rated for the exercise. Avoid testing loose furniture with your bodyweight.
Should I lower the incline or add repetitions?
Add repetitions when you are below your chosen range and want more practice at the same setup. Lower the incline when that range is comfortable and a suitable surface exists. Change one at a time and expect the repetition count to fall after a harder change.
Start your next session by writing down the surface, foot position and first set. That small record gives your progression a direction without turning the floor into a deadline.
Sources
- NHS: Strength exercises — wall press-up technique.
- ACSM: 2026 resistance training guidance — individualized programming.

Nick Smoot is a certified fitness coach and the founder of Smoot Fitness, established in 2012. With over a decade of hands-on experience, Nick has personally coached more than 400 clients both in person and online helping them achieve lasting, life-changing physical transformations.
As a contributing expert at Sportiemade (sportiemade.com), Nick brings real-world expertise and a no-nonsense approach to fitness. His coaching philosophy goes beyond short-term results: he equips every client with the knowledge, habits, and mindset needed to get into the best shape of their life and stay there permanently.
Nick specialises in strength training, endurance performance, and the mental discipline that ties them together. His signature philosophy? Lift heavy, run far, and never stop learning.
Whether you are just beginning your fitness journey or looking to break through a plateau, Nick's evidence-based methods and proven track record make him one of the most trusted voices in the fitness space.